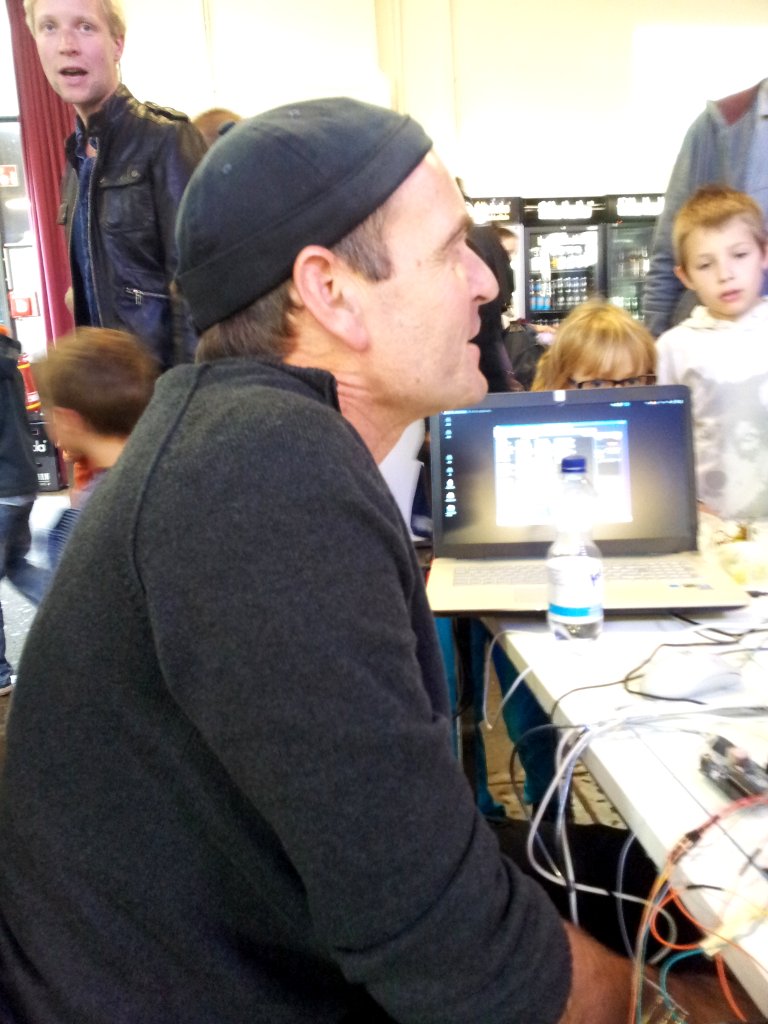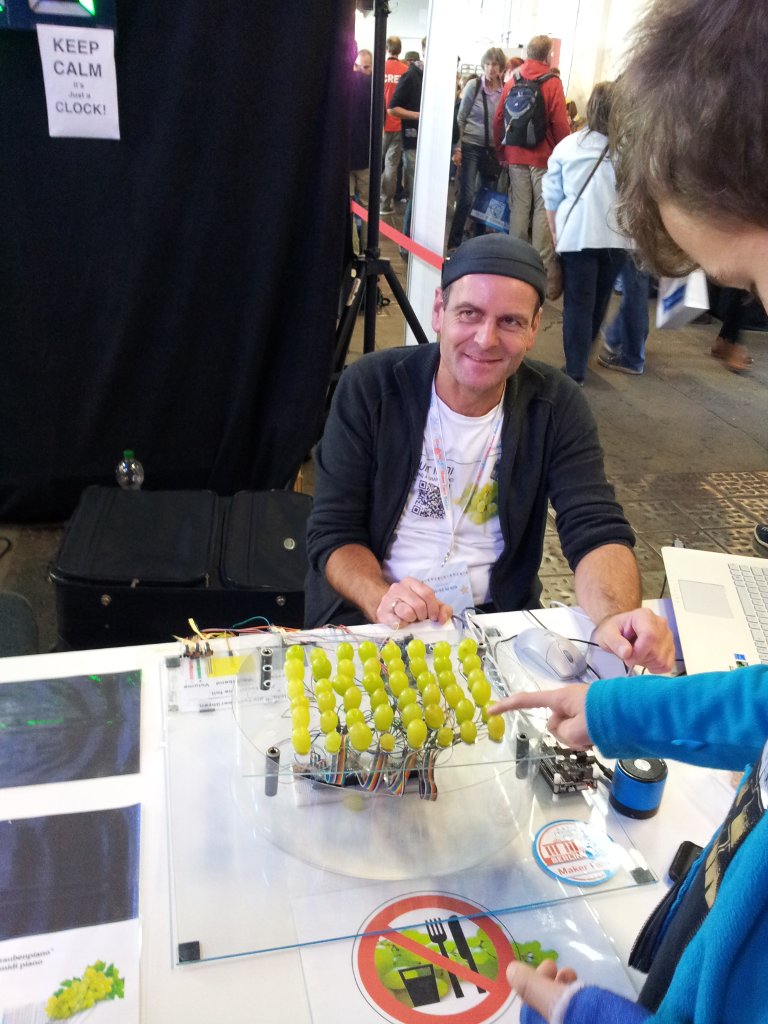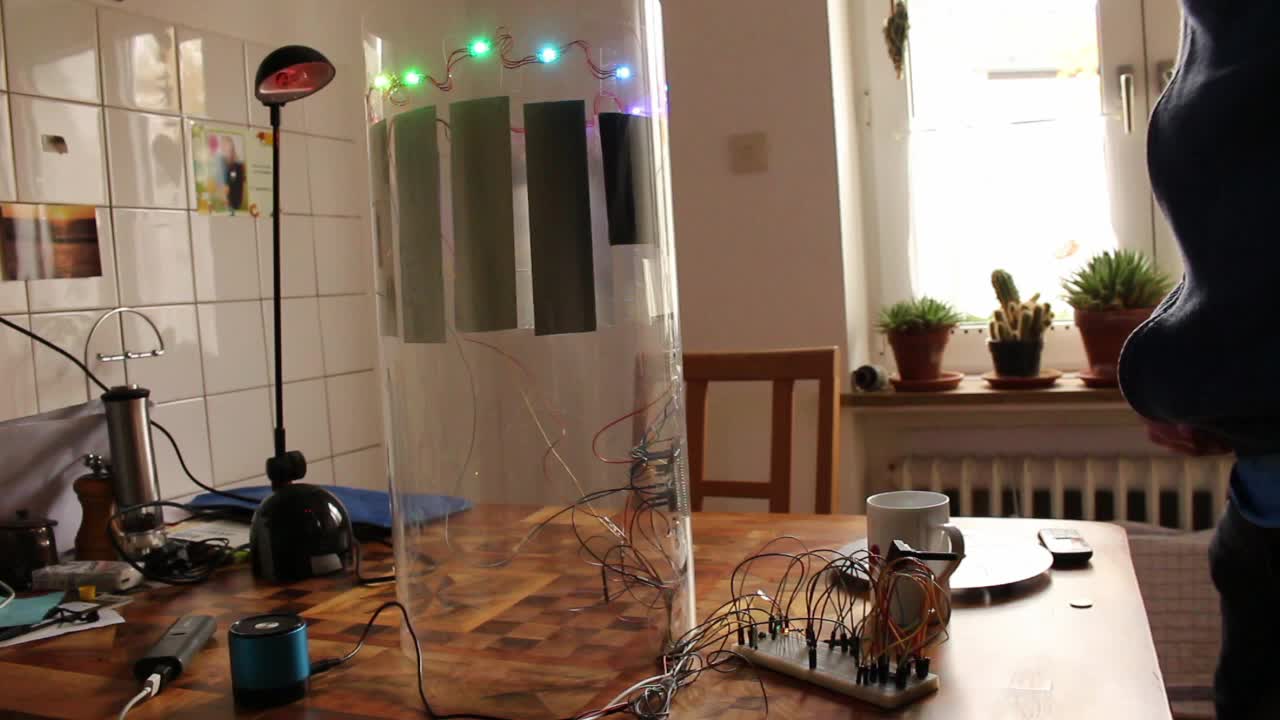
TouchTube ist eine durchsichtige Plexiglasröhre mit folgender Hardware und Features:
Arduino Leonardo Clone ->
Technische Details
• Berührungs- und Entfernungsmessung
• Vorprogrammiert als MP3 player (hier: Hardware modifiziert und als eigenständiger Midi-Player verwendet)
• Leicht als Midi-Instrument oder -Steuerung umprogrammierbar
• HumanInterfaceDevice(HID) Kann als Maus oder Tastatur verwendet werden.
• Arduino kompatibel und programmierbar über die Arduino IDE
• Arduino Leonardo Pin Layout smit Unterstützung für Arduino shields
• Eingebautes LiPo Batterie-Lademodul
• 3.5mm Audio Anschluss
• 20 digitale I/O pins
• 12 analoge pins
• Atmel ATMega32U4 Microprocessor
• Berührungssensitiver Chip von Freescale MPR121
• VLSI VS1053B Audio Prozessor
• 32 kB of Flash Memory (4 KB bereits verwendet für Bootloader)
• 2.5 kB SRAM
• 5V Betriebsspannung
Die Schaltung auf dem Breadboard ist bestückt mit einem MCP23017 IO-Expander. Dadurch gewinnt man zusätzlich 16 I/O pins. Der MCP23017 ist 8-fach kaskadierbar.
In diesem Fall steuert er 3 LEDs.
- Grün: Näherung der menschlichen Hand erkannt (kapazitive Spannung)
- Rot: Entfernungsänderung weg vom Objekt erkannt (ebenfalls kapazitive Spannung)
- Gelb: Auswahl: Ändern de (Midi)Sounds auf dem Audio Chip VLSI VS1053B von http://www.vlsi.fi
Die Soundauswahl erfolg ganz simpel über einen Pushbutton.
12 RGB-LEDs: Von einem inc1003 LED-Strip einzeln abgeschnitten, verlötet und per Adafruit Neopixel library angesteuert. Die LEDs strahlen Regenbogenfarben aus (pro Sensor eine LED)
10 Sensoren aus Aluminium-Folie (selbstklebend
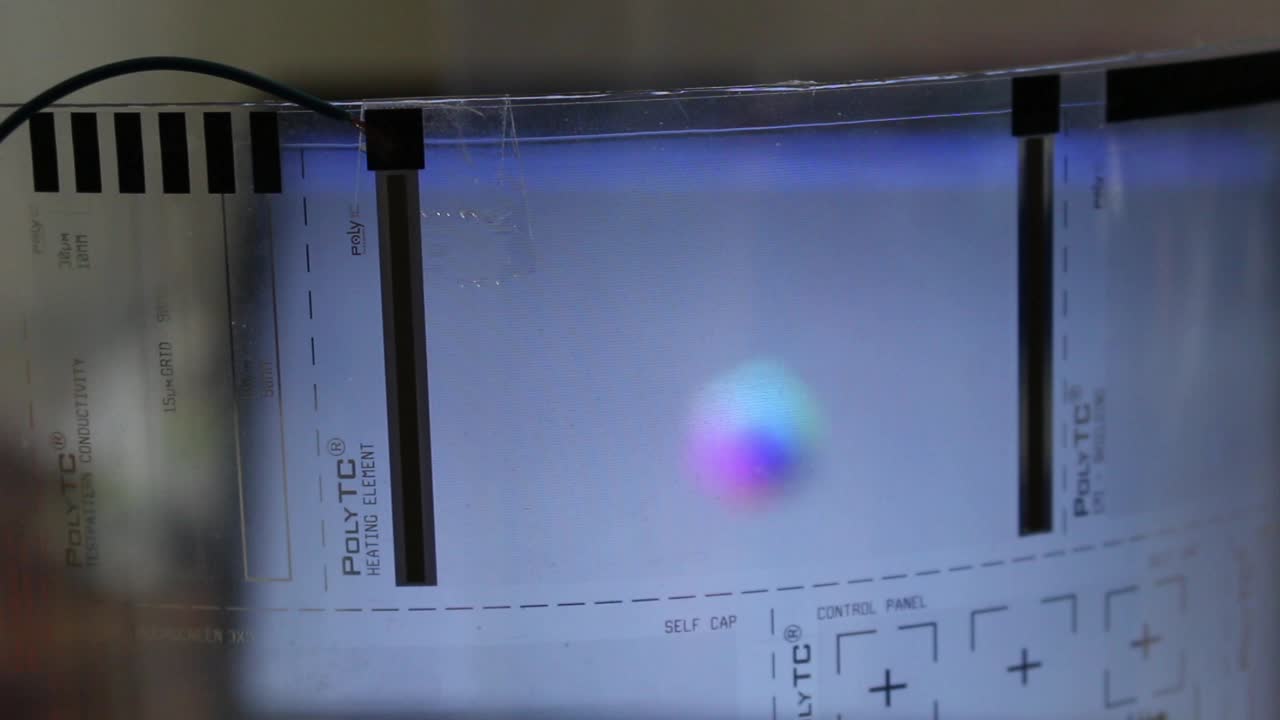
1 Sensor von PolyIC: durchsichtige, leitfähige Folie
1 Sensor aus selbst hergestellter, leitfähiger Farbe auf Papier.