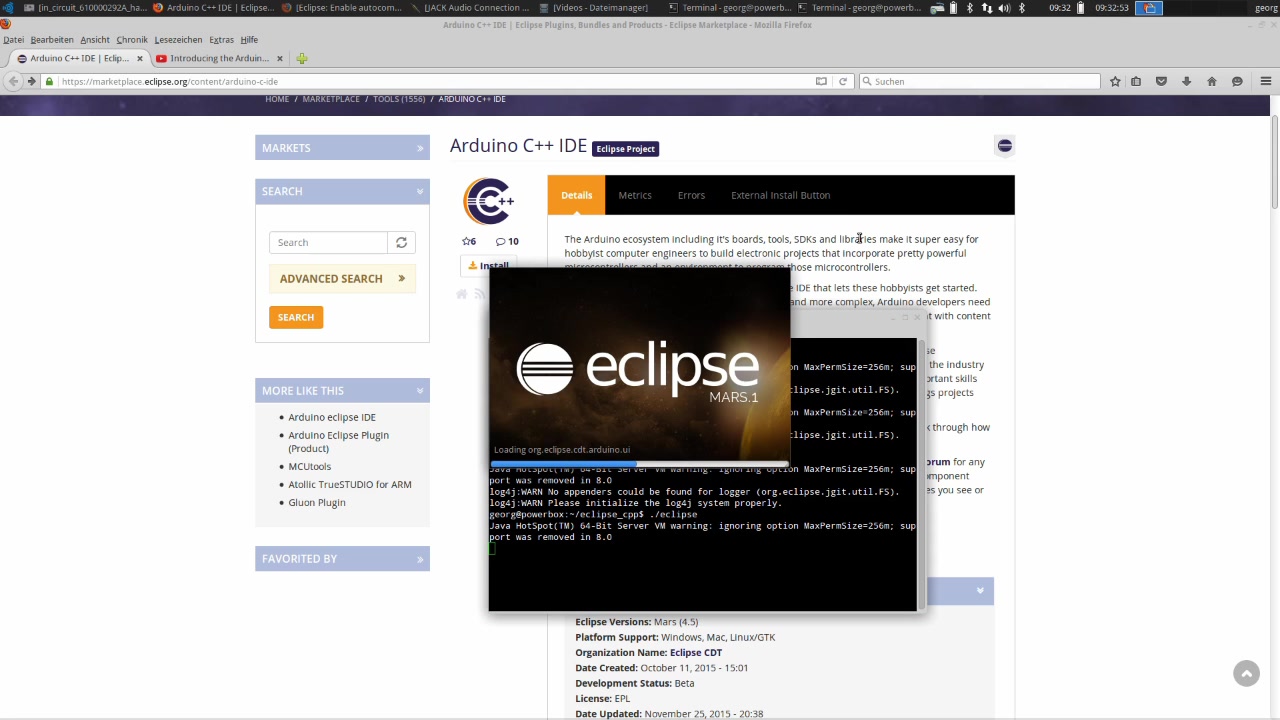
Da ich ja bekanntlich mit Linux arbeite, brauche ich glücklicherweise nicht unbedingt eine virtuelle Maschine, um C/C++ Projekte nativ auf einem ESP8266 zu programmieren und zu flashen.
Wie man den Chip professioneller als mit der Arduino-IDE flashen kann, sieht man in diesem Video.
Morgen gibt es dann die Fortsetzung mit einem Makefile für Linux in der Eclipse IDE. Dann braucht man auch das Arduino-Eclipse-Plugin nicht mehr und kann endlich hardwarenah direkt in C programmieren.
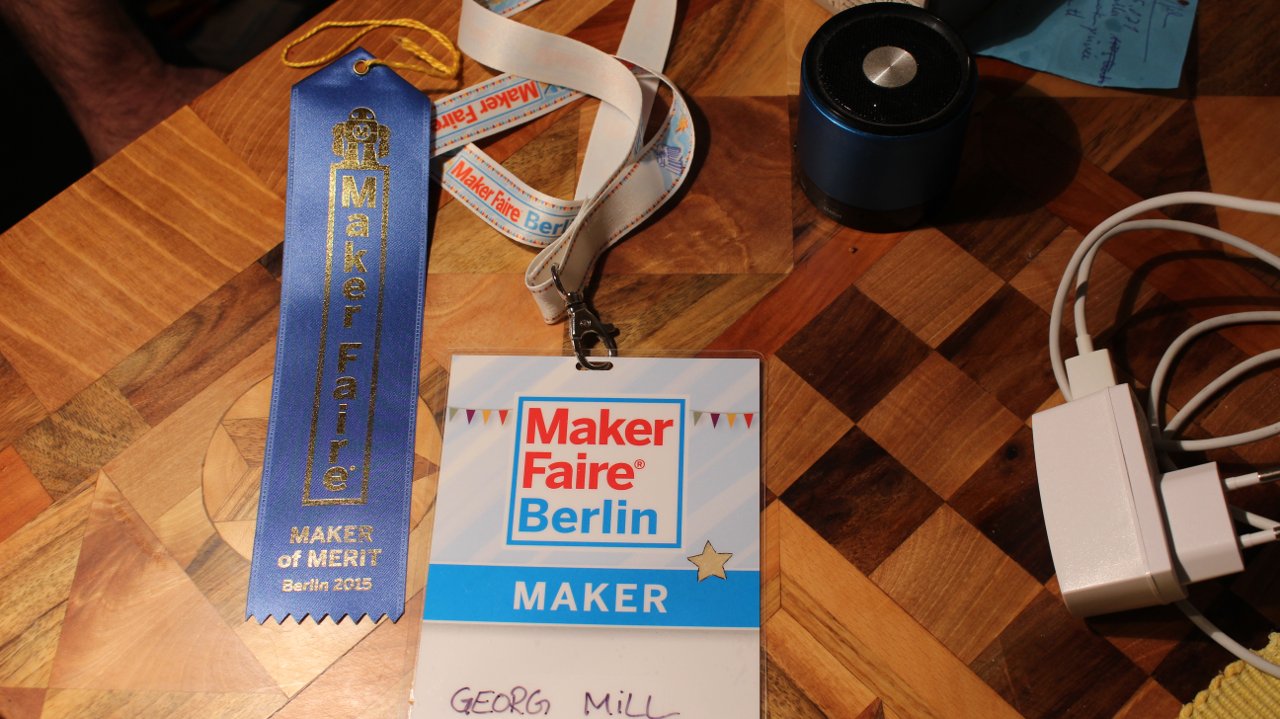
Ja, diese MakerFaires sind weit weg, aber das Thema, um das es dort geht, hängt bei mir an der Wand. Auf der MakerFaire in Berlin kam nach Ende der Veranstaltung ein junger Mann zu mir und übergab mir so ein kleines, blaues Band mit der Bemerkung: „Das ist ein kleines Dankeschön. Das kriegt hier jeder.“ Daher habe ich dem „blue ribbon“ keine besondere Beachtung geschenkt. Nun, jetzt bin ich etwas klüger geworden und weiss, dass es doch eine besondere Auszeichnung ist, wenn man solch ein Band bekommt.
Vielen Dank an die Veranstalter der MakerFaire in Berlin 2015 und diejenigen, die mein Traubenpiano zu schätzen wissen 😉
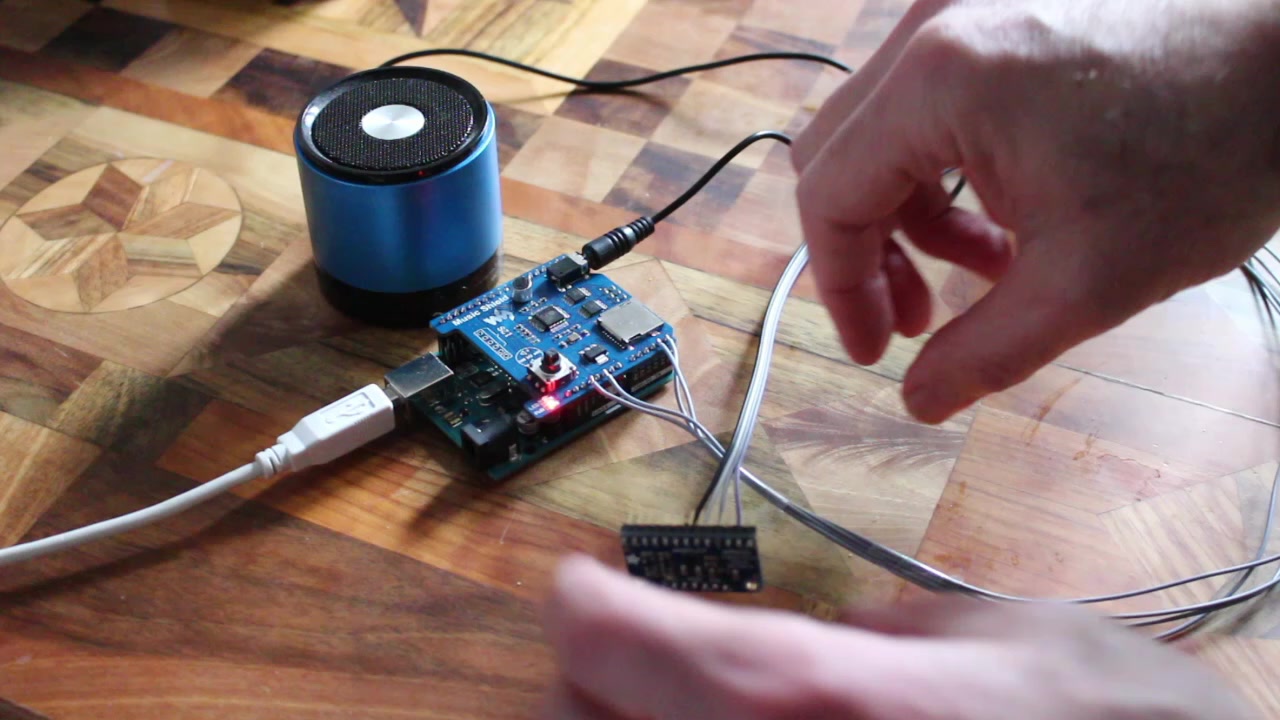
It comes with a VS1053 – Ogg Vorbis / MP3 / AAC / WMA / FLAC / MIDI Audio Codec Chip on board together with a lot of other hardware features like micro-SD support and Audio out for headphone or speakers.
Das auf der Maker Faire Berlin bereits vorgestellte Traubenpiano wird auf der Maker Faire Ruhr am 12+13. März 2016 in Dortmund in einer neuen Version zu sehen sein. Veranstalter ist die DASA Dortmund.