Hi,
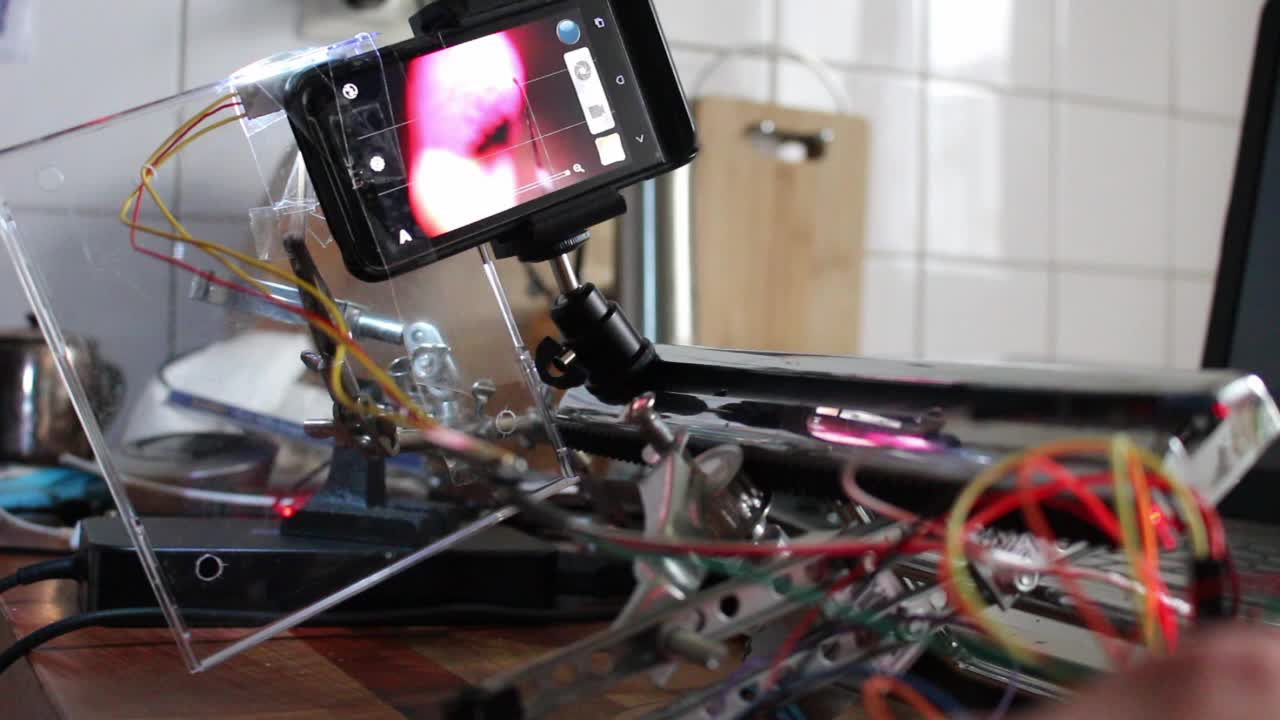
today the weather was perfect for doing a first test with my brand new DoItYourself-Timelapse rail. Cold and windy, but NO RAIN 🙂
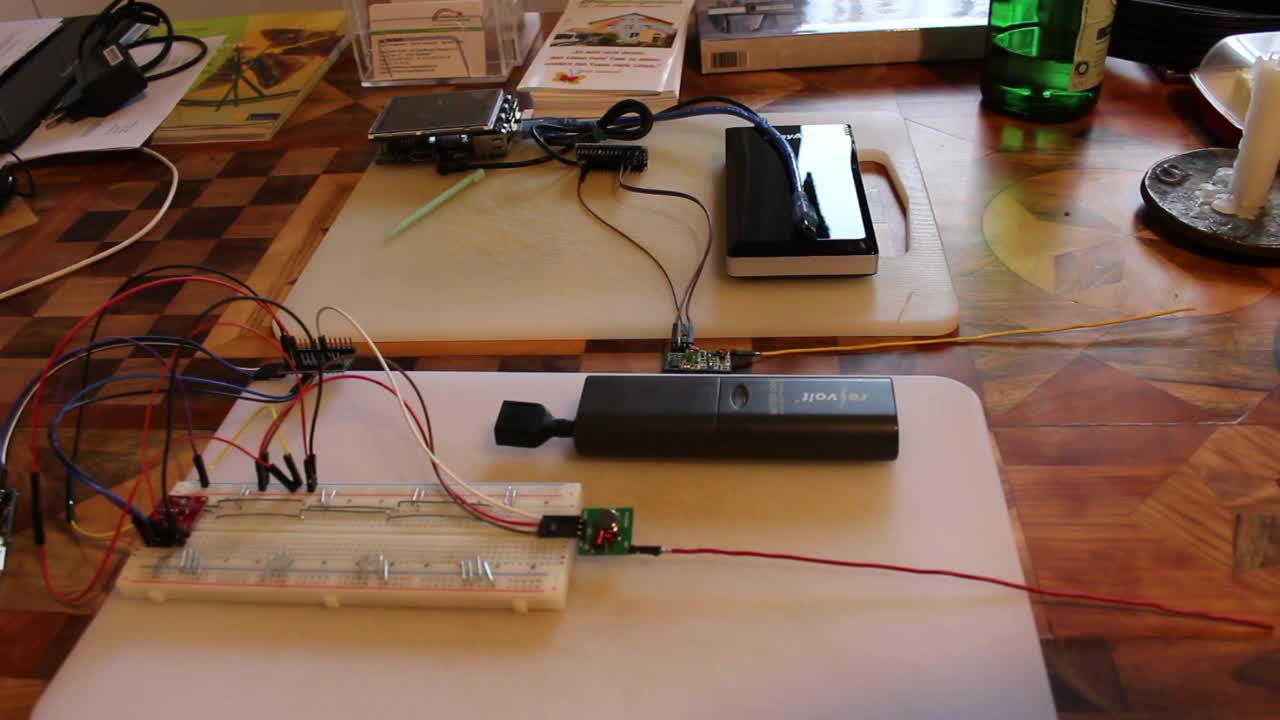
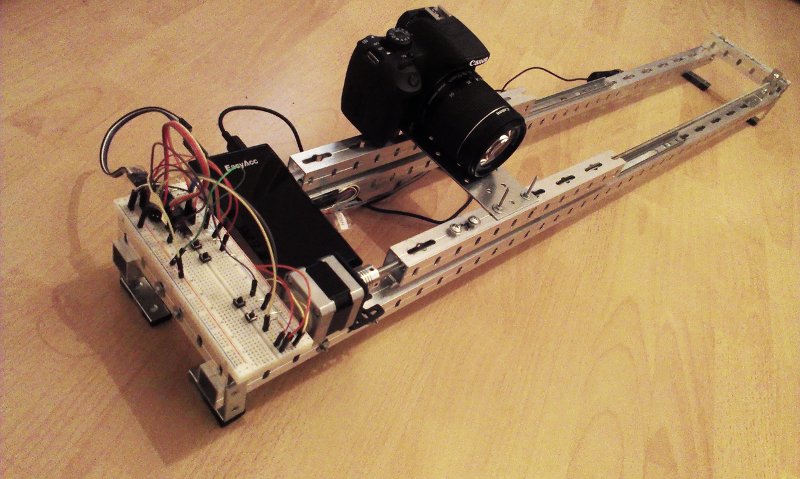
This was my first attempt which already works perfect for my needs, but the timelapse dolly is to heavy for everyday tasks. So the new version is made of aluminium which seems to have too less weight for windy situations. The logic for the stepper motor is very basic . 2 pushbuttons for start and stop. 2 more buttons for manually sliding the rail forward and backwards.
Everything powered with 5V 2A (stepper) and 5V 1A (Arduino)
The resulting single 1150 pictures (JPEG and RAW format) are put together by a little bash script to convert them into a little movie.
Parts:
- 1x Arduino Mini Pro
- 1x 17 NEMA Stepper Motor
- 1x ULN2003A as motor driver
- 2x drawer rails
- some hardware parts from my local Shop (Bauhaus) ->screws, aluminium bars etc.
- Canon DSLR Camera (can be any other model, too)
- Good weather 😉