The Dragon starts moving

Thomas Sanladerer  showed us something about the roots of reprap here . Adrian Bowyer created a community around the first prototypes of 3d printers.
Without this community all these nice little and big things you can read here would have been impossible. My 3d printer built from scratch (codename: The Dragon) is a project I started a few months ago.
I see it more in the category „little thing“. But nevertheless Adrian Bowyer tells us in his video that it is nearly impossible to make a big business from building 3d printer hardware.
So why should we do it at all, if chinese manufacturers can produce everything for a much lower price than we ever will be able to?
My personal motivation is building a thing (printer) that has a new concept. On first glance it seems to be nothing new, more a toy for kindergarden kids. The value of this printer is not the printer itself, it is its modular design.

Most of the 3d printer designs have a concept that makes it complicated to build a tiny, normal sizd or big format printer. In the industry they often work with concepts that have a modular and scalable design.
So I asked myself: Why shouldn’t I do it like the big players and bring this concept to the desktop.
Developing a linear motion system that is extremly low cost seems to be in the spirit of the reprap founders and so I decided to go to a local hardware store and buy everthing for the new printer there instead of buying everthing in china.
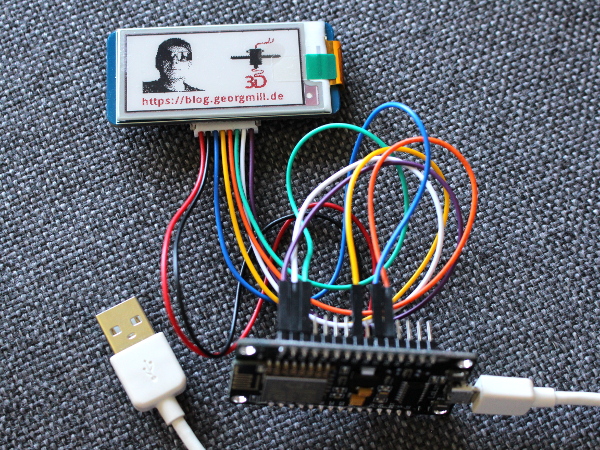
The only parts that are used from china are: Wheels, motors and electronics.

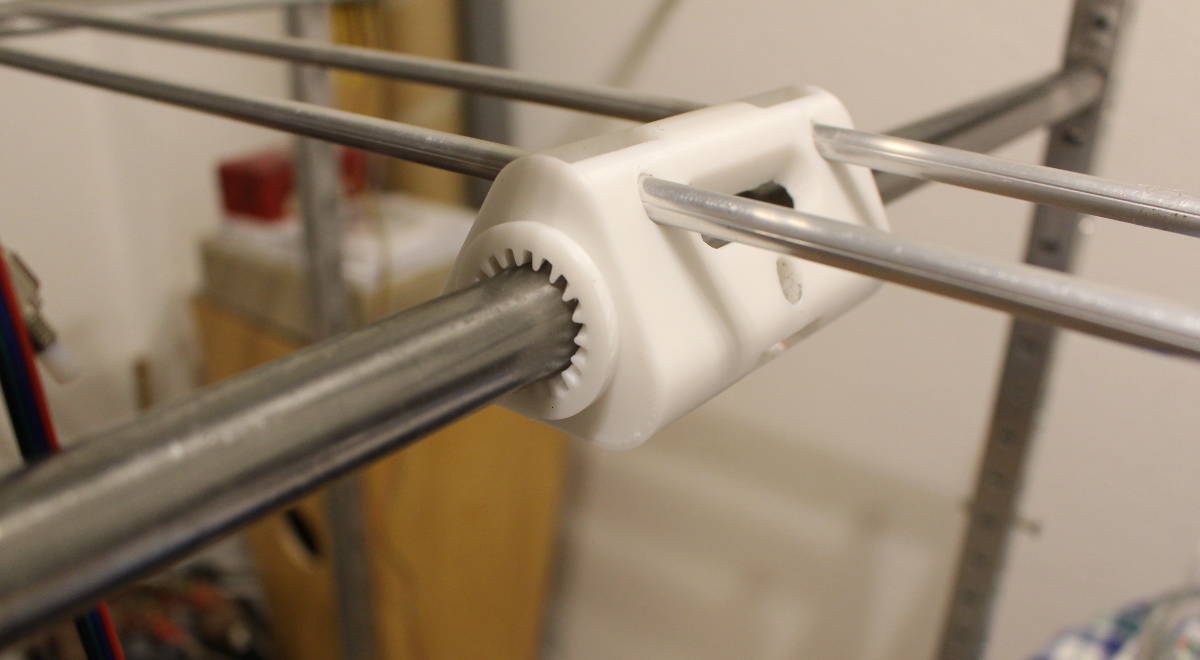
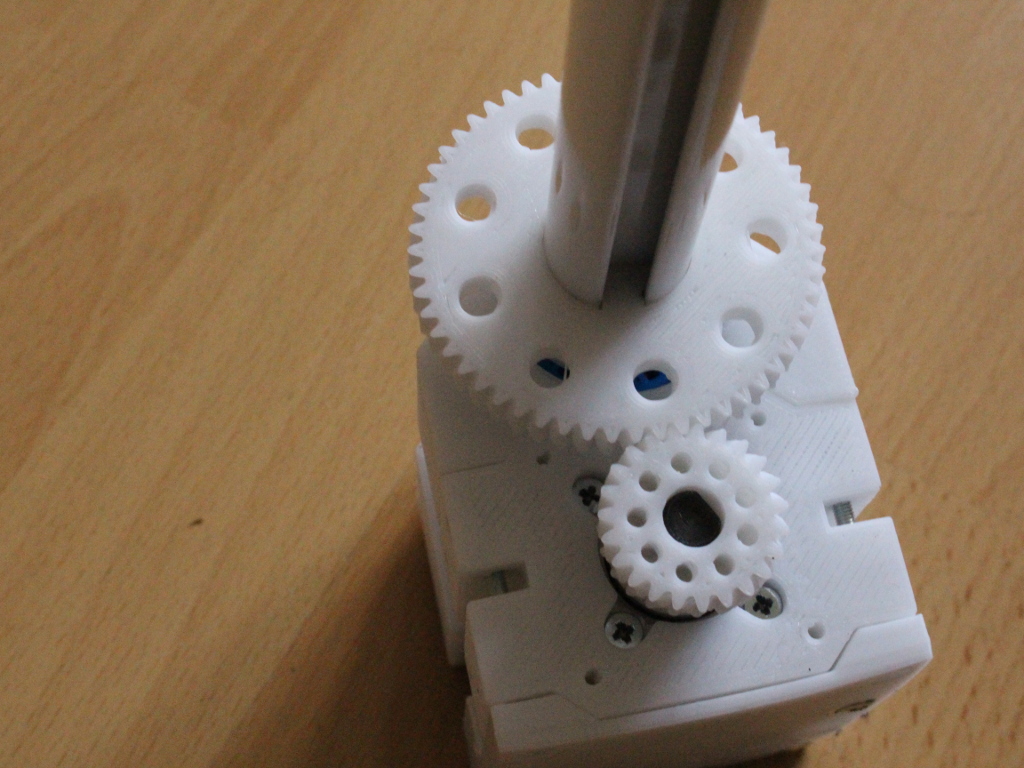
The rods are simple curtain rods with a special profile to get a rigid axis for the z-axis.

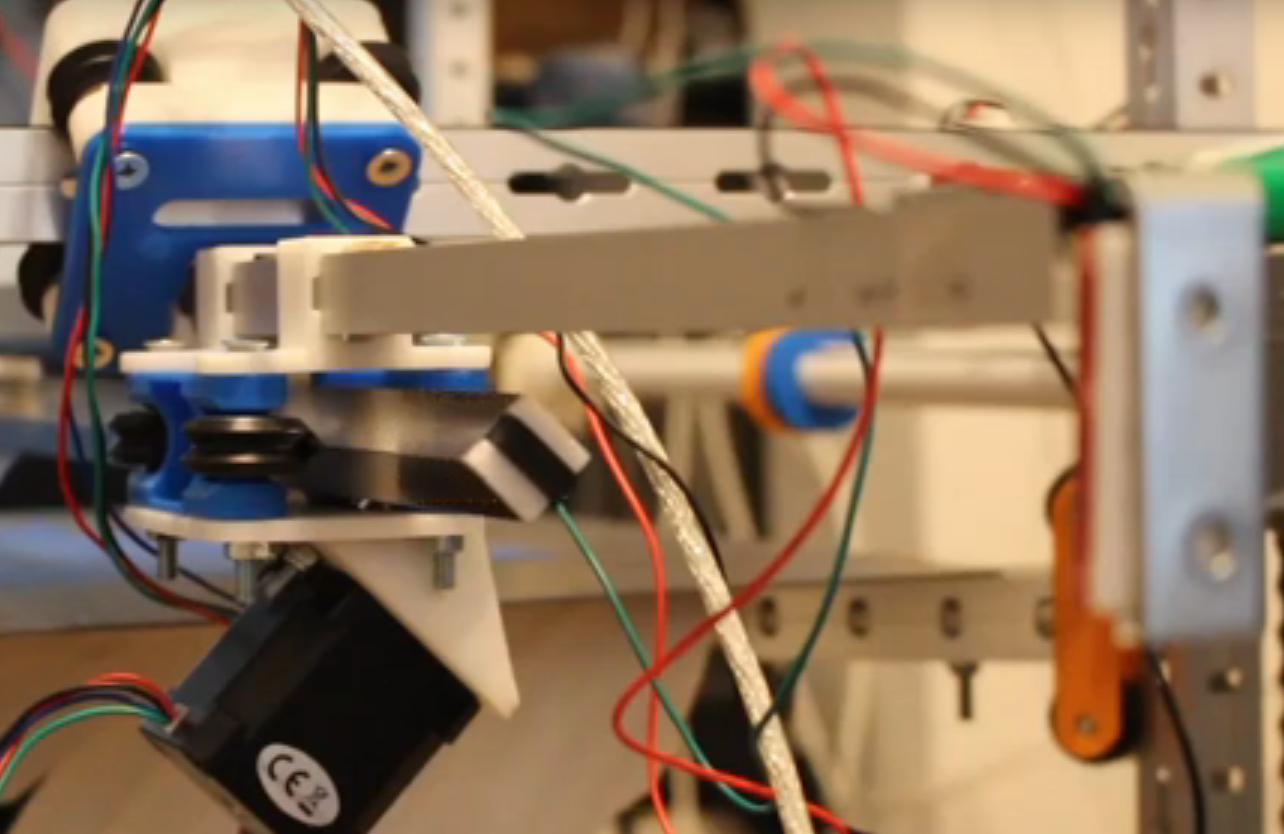
The z-axis itself is driven by 2 geared Nema17 stepper motors and 4 bikechains (also from my local hardware store. The extruders are 3d printed from the best 3d printer concept I found so far: Quadrap printers. It is a so called saintflint extruder that even pulls the filament from my spool lying on the floor.

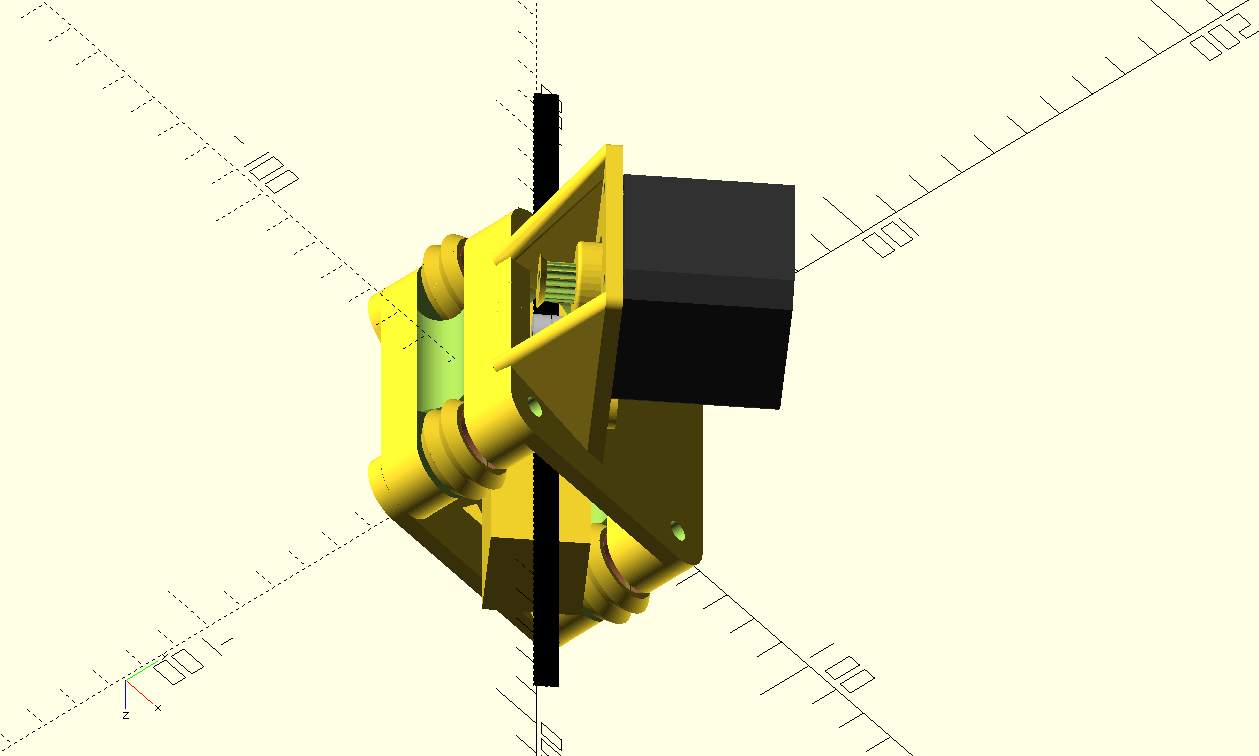
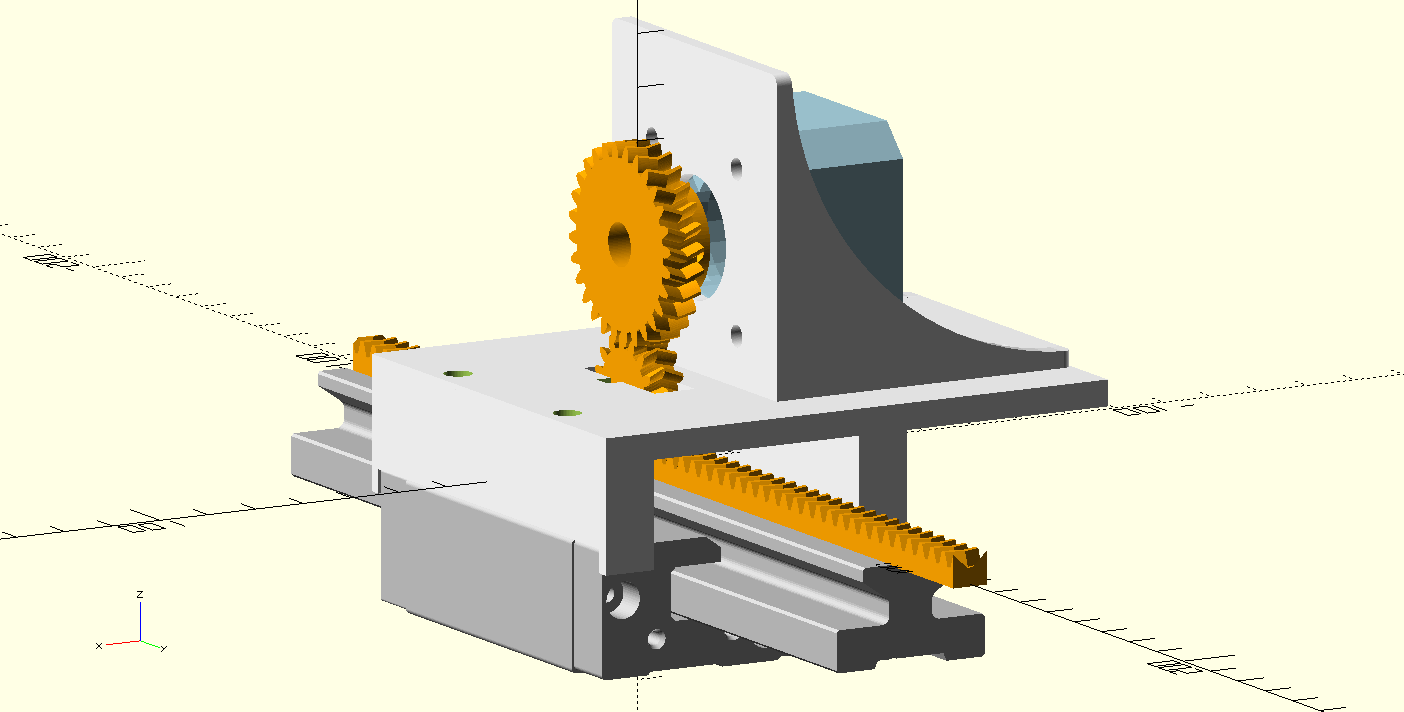
To be able to make all things scalable without much effort, I used Openscad software and programmed everything manually to get a design, that allows you to adapt e.g the size of the sliders by just changing one single parameter: The size of the rod.
The rest is done automagically by openscad. Zhat make it easy for me to build sliders for all squared rods, whatever size they may have.

The z.axis is like the base of a house: It has to be rigid and precise, otherwise the rest will never work. So I started building the z-axis as a standalone module.
You can simply ad any x/y kinematic on top of it or even build your (better) designed z-tower or whatever you like without changing the whole system.

More to come later …

Teleskopantrieb für 3D-Drucker Hotend

Die Entwicklung des „Drachen“ 3D-Druckers schreitet voran. Schließlich ist ja bald Weihnachten. Und da soll er schon produktiv drucken können.

Doch bis dahin gibt es noch ein paar Dinge zu tun. Eines davon ist die Entwicklung eines Teleskopantriebes für das Hotend. Hier sieht man den ersten Prototypen im Betrieb:

Wozu nun ein solcher Antrieb?

Die Antwort ist einfach: Je weniger Masse bewegt werden muss, um das Hotenend (oder ein anderes Tool, bsw. Laser oder Foliencutter) hin und her zu bewegen, desto schneller kann man die Achse, auf der das Hotend befestigt ist, bewegen.

Vorteil: Der Energieverbrauch verringert sich. Die Geschwindigkeit kann nach oben verschoben werden.

Die Lineargleiter für dieses Projekt stehen seit kurzer Zeit online und sind auf Thingiverse kostenlos zu bekommen.

https://www.thingiverse.com/thing:3249057

Thingiverse preview and download of the modular slider module of „The Dragon“ 3d printer

Today I opened my first thingiverse account. Makerbot tells me that new users have to wait 24 hours until they can publish their files. So this a preview and the download from my website.

The slider modulecan be downloaded here

Square_tube_slider


„The Dragon“ – ein 3D-Drucker selbst gebaut

Ab heute wird es hier eine Reihe von Artikeln geben, in denen der Bau eines Grossformat-3D-Druckers beschrieben wird. Er hat einige Besonderheiten. Es kommen 4 Fahrradketten und Gardinenstangen zum Einsatz.

Wie man aus einfachen und günstigen Materialien einen präzisen Grossformat-3D-Drucker bauen kann, das erfahrt ihr hier.

3D printed geared Timelapse Rail with IGUS parts driven by ESP32 async webserver interface

As the title already says. This is about  a motorized  timelapse or video rail with the following features:

Electronic Parts:

  • ESP32  powered over USB (5V)
  • DRV8825 steppermotor driver (12V)

  • TMC2100 steppermotor driver (12 V)

Mechanical Parts:

  • IGUS Rail and Carrier
  • 3D printed gears and rail
  • Nema17 5:1 geared stepper motor

Software:

  • Arduino Multitasking DRV8825 and TMC2100 steppermotor driver using both cores of the ESP32 simultaneously.

  • WEB user interface running an asynchronous webserver directly on the esp32 in Access Point mode
  • Connecting via WiFi with any WiFi enabled device (smartphone, laptop, desktop computer etc.)
  • Simple to use stepper motor controller interface

    Igus timelapse and video rail powered by ESP32
    Igus timelapse and video rail powered by ESP32


esp8266 E-Paper Display mal ganz einfach

Jeder, der schon mal versucht hat, ein E-Paper Display an einen esp8266 oder esp32 anzuschließen, weiß, daß das eine etwas fummelige und zeitraubende Sache sein kann. Insbesondere das Vorbereiten von Grafiken ist extrem Zeitraubend.
Mit einem Testboard von Waveshare, dem sogenannten „Universal e-Paper Raw Panel Driver Board, ESP8266 WiFi Wireless
kann man den Aufwand auf ein paar Minuten reduzieren. Wie das funktioniert und alle technischen Features sind  im Waveshare Wiki ausführlich erläutert.


So sieht es aus, wenn man es manuell macht.