Hi,
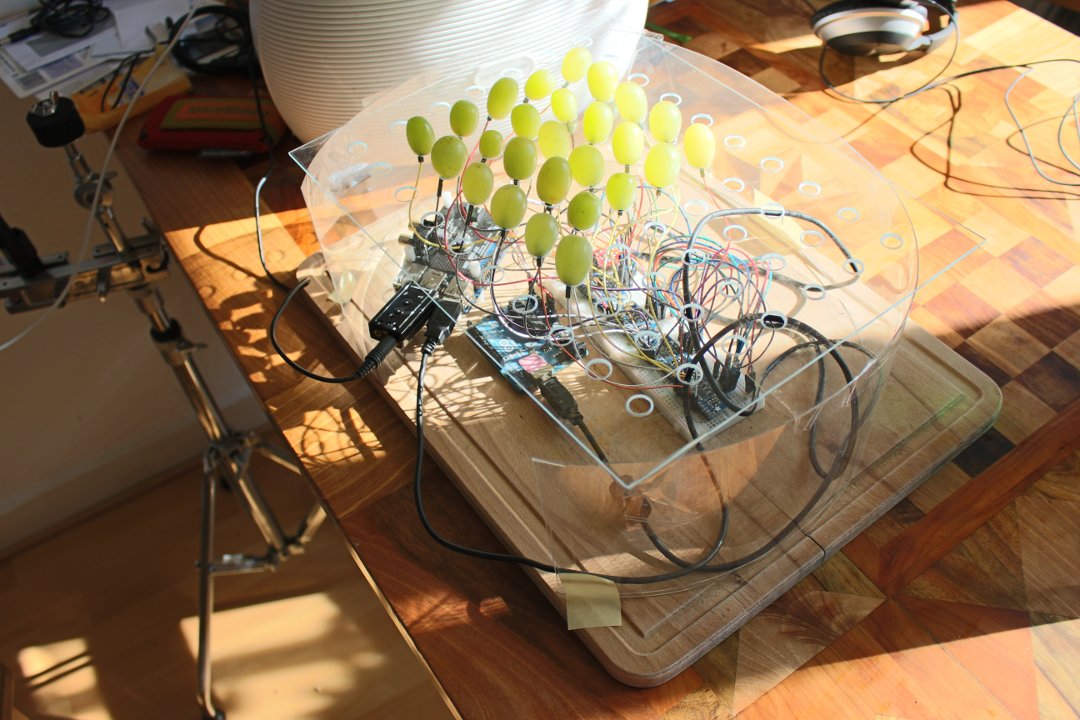
this is a first impression of what you can see and test live on the Maker Faire Berlin 2015. It is a special DeLuxe edition of the Graped Midi Piano.
Change it all. Now. Fast. Realtime.
Hi,
this is a first impression of what you can see and test live on the Maker Faire Berlin 2015. It is a special DeLuxe edition of the Graped Midi Piano.
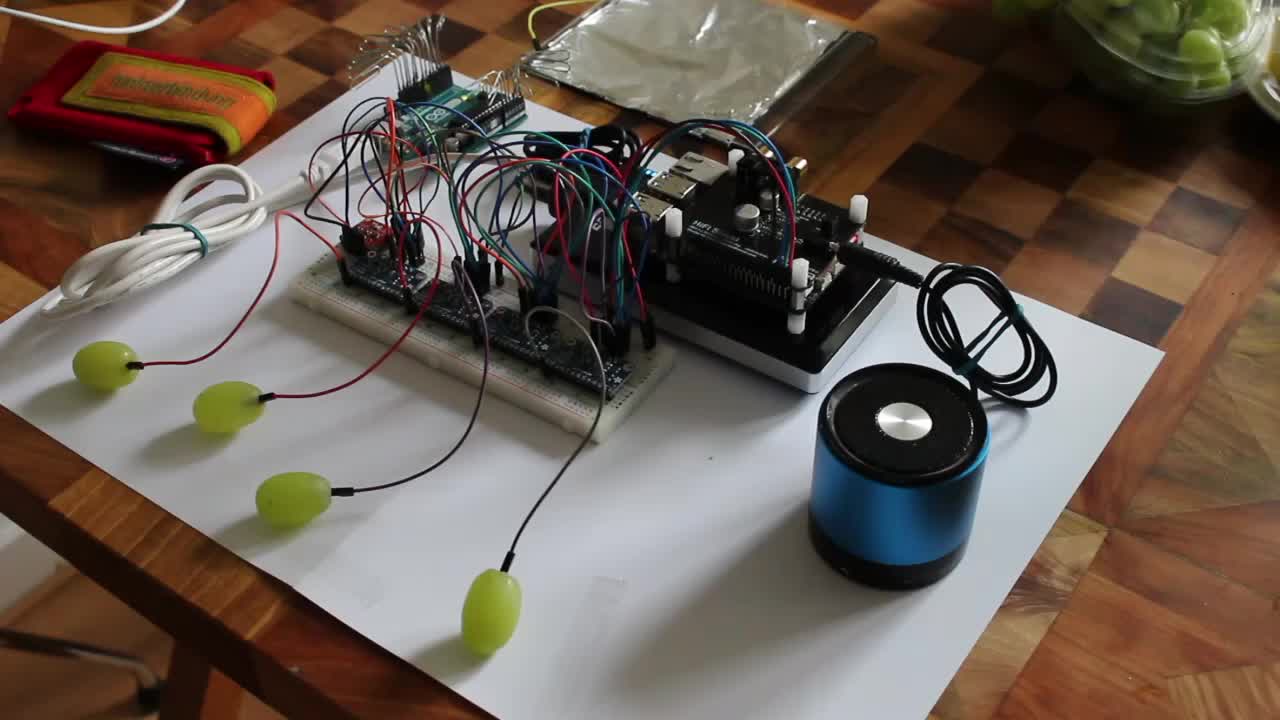
Working on the new Odroid-C1+ becomes more and more interesting. Having compiled the realtime kernel sources successfully on the C1+ I got the graped midi piano running together with the HiFi-Shield from hardkernel.com. You can plug the shield into your HiFi station at home or plug in your favorite headphones. Here I just use it together with simple bluetooth speaker which is connected with a stereo cable to the HiFi-Shield (which is a real waste of resources, I know. I just want to get a mobile HiFi Midi Graped Piano).
The graped piano can be connected with up to 48 grapes, but to keep the amount of wires low there is only a demonstration with 4 grapes (I’m not so hungry today).
To get the best conditions for my grapes I plugged a mini weather station (BME280) additionally on the breadboard. So, if it’s too hot, you can ask somebody to cool the location. Than your grapes will be fresh for a long, long time.
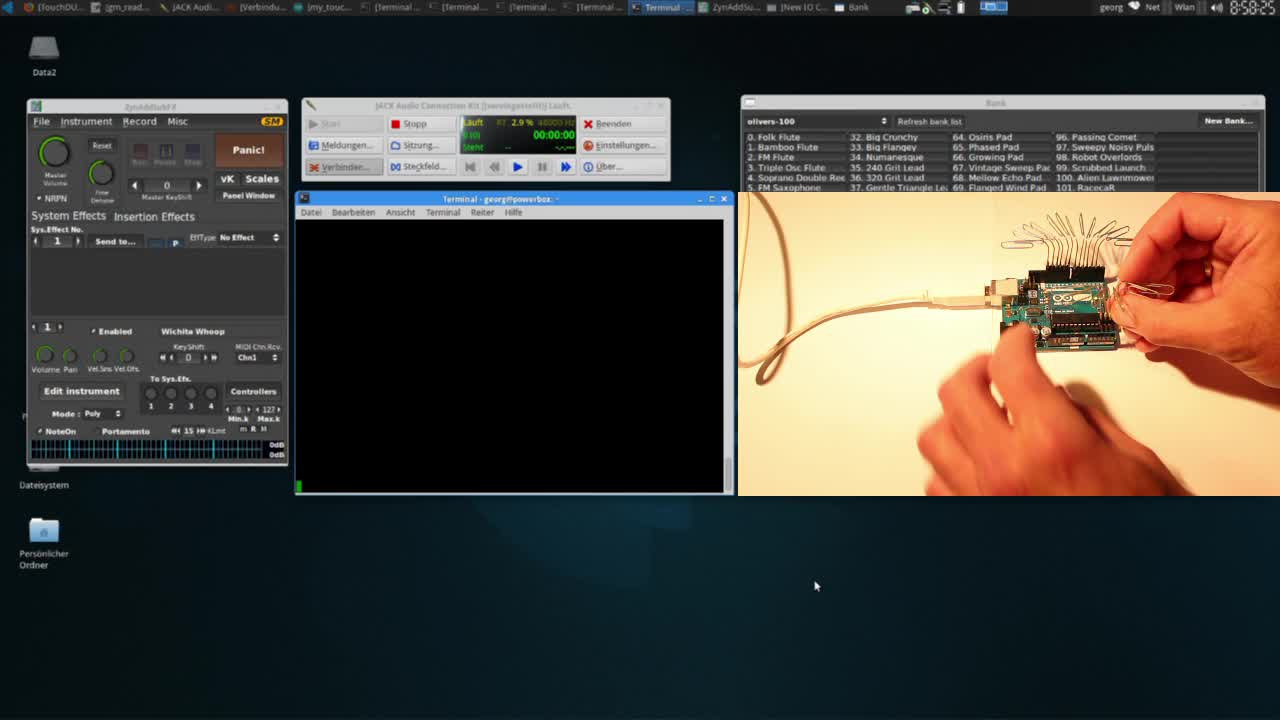
As third gimmick I plugged my touch(less) sensitive TouchDuino into the C1+ and can generate sounds with it by touching a DIY touchless sensor made from an old CD-cover and some aluminium foil.
My github account does not exist anymore since 5th of July 2018 because Microsoft has swallowed it.
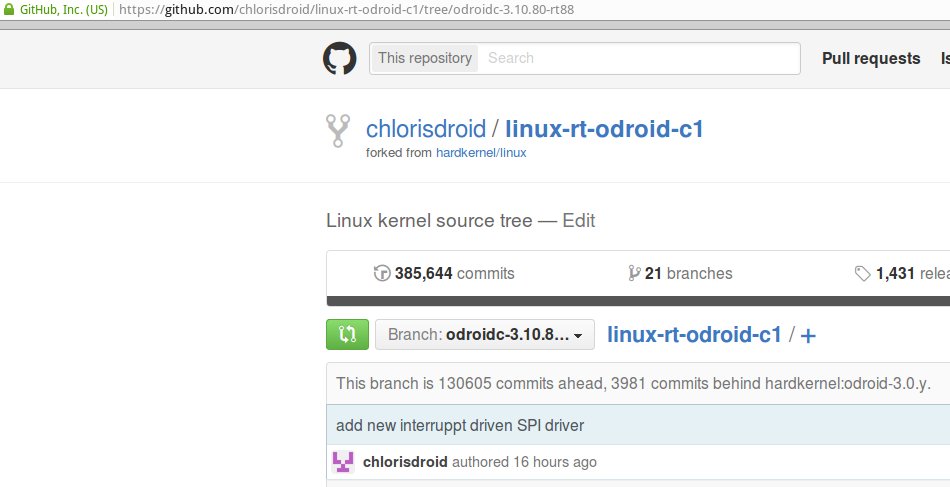
Since yesterday the 3.10.80-rt88 kernel sources for the Odroid-C1/C1+ are available from my new github account
https://github.com/chlorisdroid/linux-rt-odroid-c1/tree/odroidc-3.10.80-rt88
To compile the sources read http://odroid.com/dokuwiki/doku.php?id=en:c1_building_kernel
Some things change if you use my sources.
Be sure to have the odroidc-3.10.80-rt88 branch selected
and clone with (this is one single line->)
git clone --depth 1 https://github.com/chlorisdroid/linux-rt-odroid-c1.git -b odroidc-3.10.80-rt88
change directory with
cd linux-rt-odroid-c1
create the
.config file with
make arch=ARM odroidc_rt_defconfig
„Realtime preemptive kernel sources 3.10.80-rt88 for Odroid-C1+ on github“ weiterlesen
Hi,
this is a video for a tutorial on Libre Music Production. It explains how to create a simple to build, easy to use and really cheap Midi input device with an Arduino Uno.
Das Traubenpiano kann in Berlin vom 3.-4. Oktober 2015 live ausprobiert und verköstigt werden. Bitte eigenes Obst mitbringen.
http://makerfaire.berlin/maker/mobiles-midiwifi-traubenpiano-mit-odroid-c1/
Hi,
my article about the little Midi piano with a bunch of grapes made it into the august 2015 edition (page 26: FRUIT MIDI) of the official ODROID MAGAZINE. Next week I’ll publish the python sources to get it running quick and easy.
Thanks to all the guys of the ODROID MAGAZINE (esp. Rob Roy, Chief Editor of the Odroid Magazine) and Hardkernel.com for the excellent hardware.