Full preemptive kernel 3.10.75-rt80 on Odroid-C1

Hi,

today I succesfully compiled the kernel from https://github.com/hardkernel/linux/tree/odroidc-3.10.y patched with the 3.10.75-rt80 patch from here -> https://www.kernel.org/pub/linux/kernel/projects/rt/3.10/

Needs to be tested but it boots and seems to be running quite o.k. 🙂

You can download the sources for the patched kernel here : linux-src-3.10.75-rt80.zip and compile it as described here: http://odroid.com/dokuwiki/doku.php?id=en:c1_building_kernel.

check with

It should result in

or this one : linux-src-3.10.75-rt80.tar.xz with md5sum 1b0acd9bf3c74e742b615771b64492b2

You have to take another config file: Instead of

you should use

Arduino Uno und Boblight mit ink1003

Hi,
gestern war ich zum ersten Mal zu Besuch im Düsseldorfer Garage Lab in Bilk. (http://www.meetup.com/arduino-meetup/events/222020465/)

@Jens: Danke für die Info.

@ alle anderen: Danke für den gelungenen Abend. Die Projekte waren alle sehr spannend und haben meine Phantasie doch ganz gut angeregt.

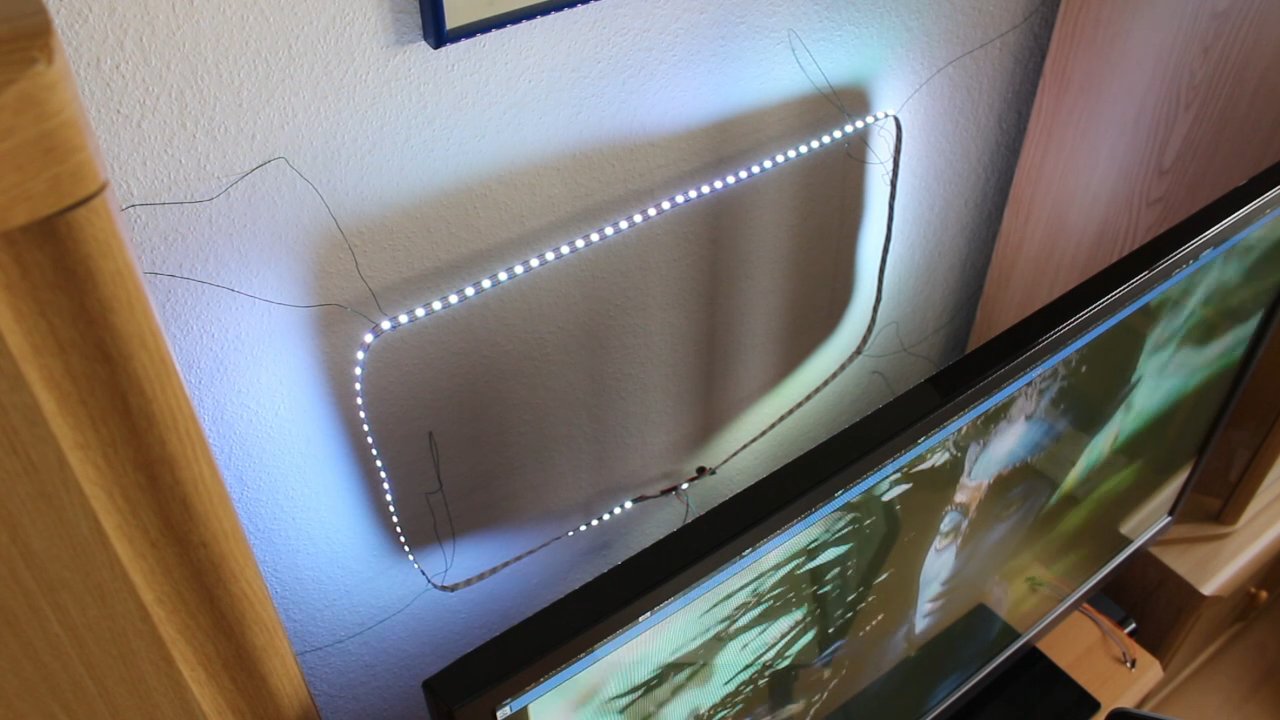
Da wollte ich natürlich auch ein (leicht transportables) Projekt zeigen. Vor einigen Tagen trudelte hier ein LED Streifen 5V ink1003 (kompatibel zu ws2811/ws2812/ ink1002) mit 120 Einzelstrips (sprich 360 LEDs) für knapp 30 Euro bei uns ein. Daraus und aus einem Arduino habe ich ein Ambilight nach dieser Anleitung gebaut:
http://www.tweaking4all.com/home-theatre/xbmc/xbmc-boblight-openelec-ws2811-ws2812/

Die Boblight Quellen gibt es hier -> https://code.google.com/p/boblight/

Wie es dann oft so ist, ging leider erst mein USB-Kabel kaputt. Glücklicherweise erst nachdem ich den LED-Streifen vorgeführt habe. Aber beim Testen verschiedener Arduino-Komponenten ging dann plötzlich nichts mehr. Erst ein Ersatzkabel schaffte die nötige Abhilfe. Aber trotzdem lief das Boblight nicht so wie erhofft.

Zu Hause musste ich dann feststellen, dass es sich um eine kalte Lötstelle handelt 🙁
Ziemlich viel Pech für den Einstieg. Beim nächsten Mal wird hoffentlich alles besser :-))

Kurzversion: Arduino – Boblight – Vu Plus Solo2 (Linux-Settop-Box) ->  einfach einfach und stromsparend inklusive Testvideo von hier ->  http://www.tweaking4all.com/downloads/arduino/T4A_AmbiLightTest.mp4

Directors Cut (Sehr ausführlich) Arduino – Boblight – Laptop -> aufwändig und Stromfressend

Fazit: Boblight hat den Test bei meiner Frau bestanden!!! Nur die Laptopversion hat sie (zurecht) wegen des hohen Stromverbrauchs gestört. Daher habe ich die erste Version mit der VU+ Solo2 als Dauerinstallation gewählt  🙂

Odroid-C1 and Canon EOS DSLR camera

Hi,

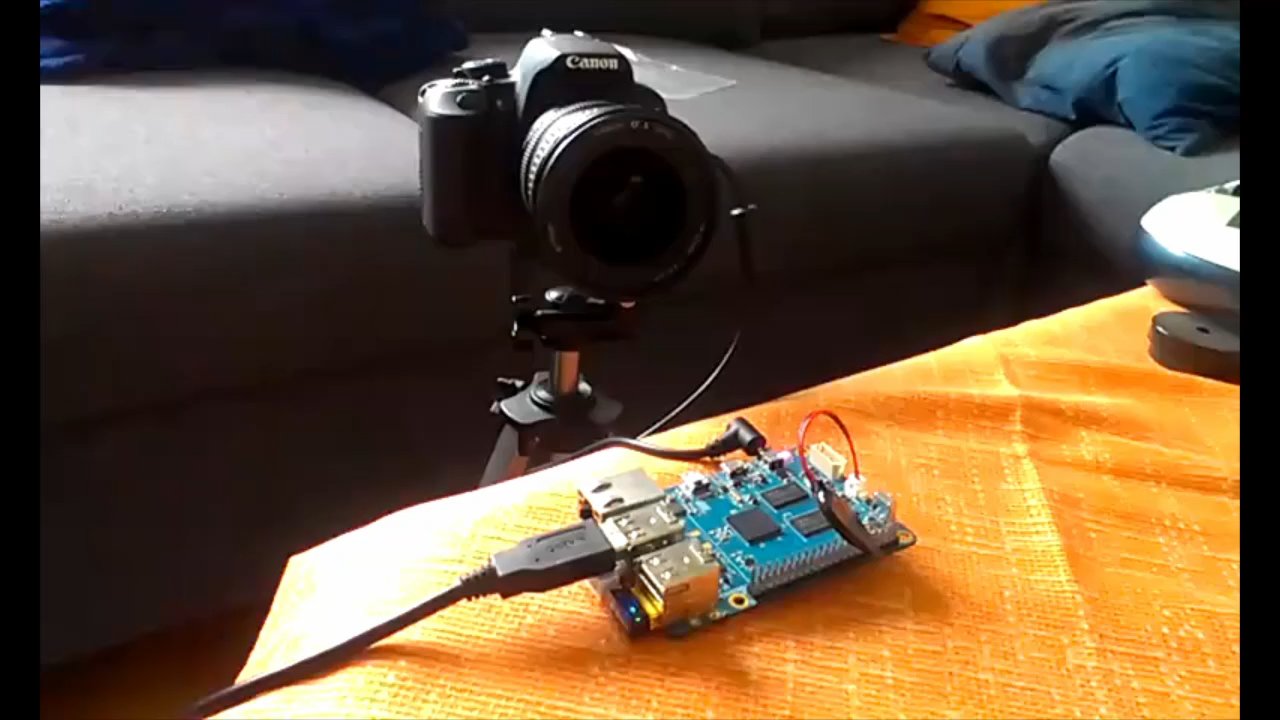
today I’ll show you how to easily remote control your Canon DSLR camera with an Odroid-C1 wirelessly.

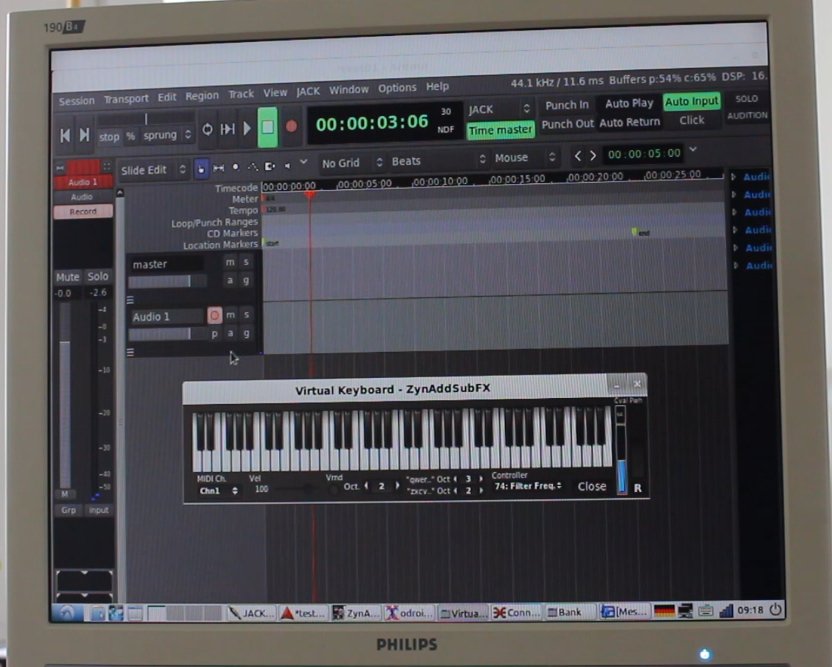
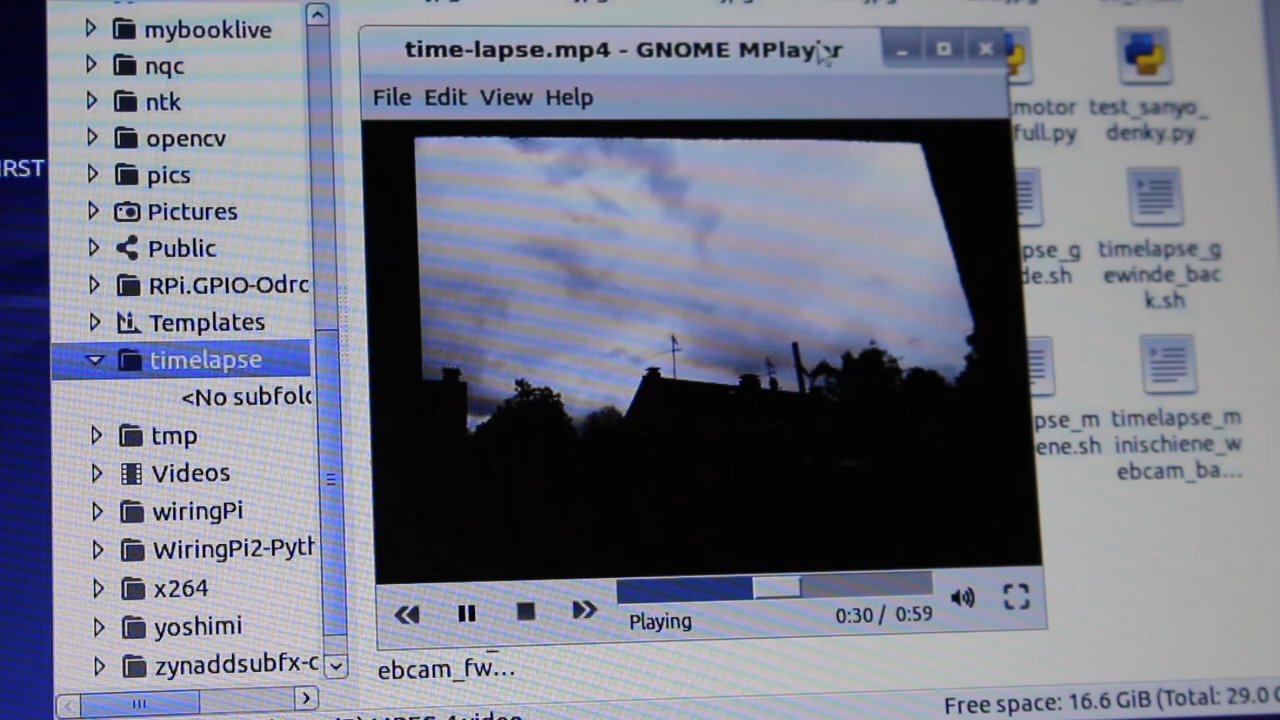
You can use QdslrDashboard for graphical preview, e.g. set the focus on a bigger display  than the small camera displays. For timelapses and focus stacking you can use gphoto2 which is easy to use and supports more than 1800 cameras.

The advantage of this approach is that you can choose a wifi connection of your choise. Maybe this works even better with a 5GHz wifi connection which could be achieved with this stick ->

http://www.hardkernel.com/main/products/prdt_info.php?g_code=G141630348024 The faster the wifi connection is the faster the live preview and all other features should work.

So if you try it outside you should use an AP that is able to run at 5GHz, too, e.g. http://www.tp-link.com/at/products/details/?categoryid=218&model=M7350

The setup with these two devices is NOT tested and there is no guarantee that things would work faster.

Steps to get it running:

1. Download the software from http://dslrdashboard.info/downloads/ on your computer and install it.

2. Download the dd server software from https://github.com/hubaiz/DslrDashboardServer and install it on the odroid.

3. Connect the odroid to your wireless access point (at home, or if you have a mobile AP like this  anywhere outside). You can also buy a cheaper one like I did and replace the original firmware with the dd server software from http://dslrdashboard.info/downloads/

4. Start the qDslrDashboard software on your computer (here it is a ubuntu linux 14.04) or on your tablet.

5. Connect to the dd server on the odroid via network connection button in the qDslrDashboard software as described here -> http://dslrdashboard.info/connection-screen-buttons/.

Here you can see the result: Camera with live preview and other features

Some of the qDslrDashboard features:

  • change camera settings/properties
  • initiate capture
  • display live view (on DSLR cameras that support it)
  • start/stop movie recording (on DSLR cameras that support it)
  • BULB capture (on DSLR cameras that support it)
  • image browser for local images and images located on camera SD card
  • custom bracketing
  • image stacking
  • LrTimelapse screen for helping time-lapse shooting
  • capture history

Electroharp for less than 10 Euro

Hi,

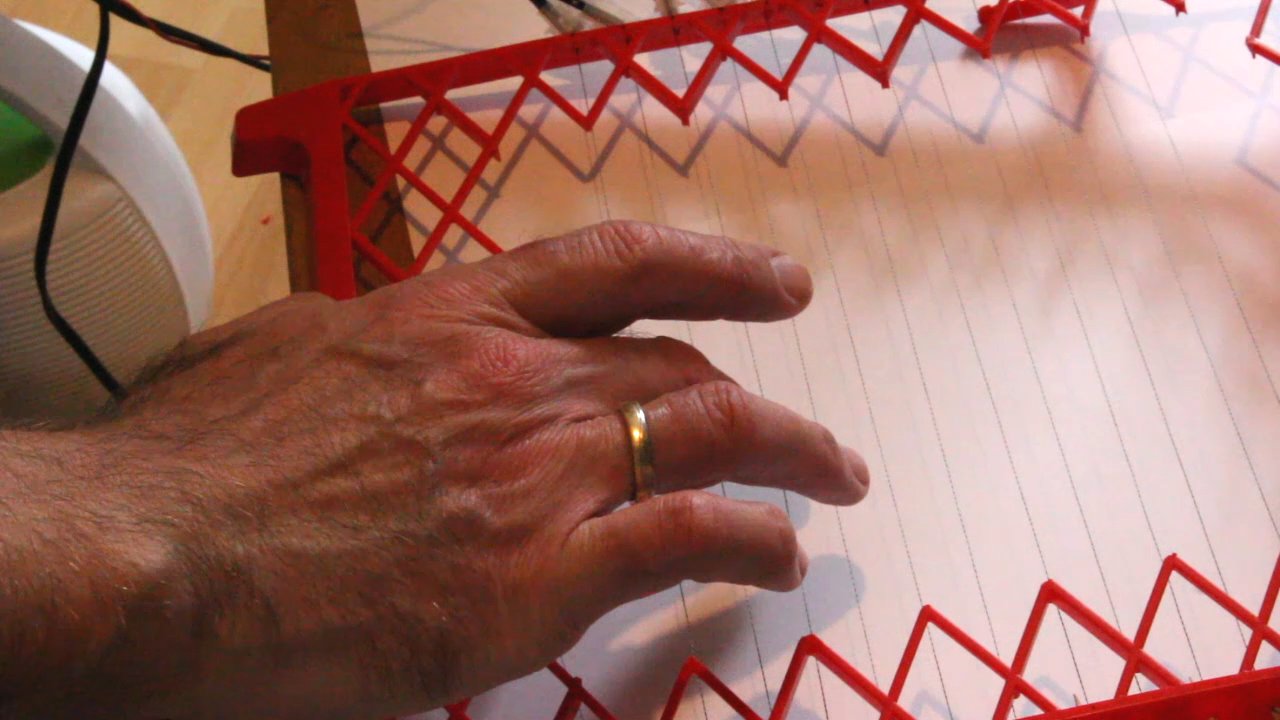
today we will build an elcetronic harp for less than 10 Euro. You’ll need a Bare Conductive Touchboard for this  which costs a little bit more ;-). You can buy it from Exp-Tech in Germany

The essential part of the harp is this stainless conductive thread.

So this video is made for those who already got such a board or want to buy it anyway.

Video encoding on the Odroid-C1

Hi,

as you may have seen I have recently built a timelapse rail Now I searched for a solution to encode a small preview video on the odroid-c1 directly.

After having testing different scripts which didn’t work well I took a look inside the Amlogic’s S805 Datasheet which can be found on http://dn.odroid.com/S805/Datasheet/

There is a hint that says:

Video/Picture Encoding
o Independent JPEG and H.264 encoder with configurable performance/bit-rate
o JPEG image encoding
o H.264 video encoding up to 1080P@30fps
That is fine news and so I tried avconv to generate the preview video. After successfully encoding the video you may start a vnc server and control the preview video directly on the odroid-c1.
 
Just log into your odroid and type
avconv -f image2 -r 15 -i htc_one_v_%04d.jpg -vcodec libx264 -r 24 -s 352*288 -strict -2 time-lapse.mp4
That should do it:
 
Watch the video to see how it works.
 
P.S.: It’s of course not 1080 Pixels@30fps.  1080P is  a HDTV high-definition video mode known as HD. Sorry for that mistake in the video!

Ardour 4.0 arrived on my desktop today

Hi,

Paul Davis, the man who is the maintaner of the Ardour digital audio workstation (daw) software, posted on his website the new version 4.0 of this tremendous software. So I pulled the git sources, installed all the dependencies as described here in http://ardour.org/building_linux.html detail and compiled it succesfully.

Then I opended an older (3.x) ardour project. Ardour asks, if it should open and copy the project files. I sayed „yes“ and voila! –everythings runs smooth without any problems. It was a recently made project to synchronize sound and video with xjadeo, which has been integrated in ardour3 already.

It is easy to remote control ardour with your smartphone with  a tiny little app which you can get and download from https://f-droid.org/repository/browse/?fdfilter=ardroid&fdid=org.ardour

The first look into ardour4 is very positive. Everything runs smooth and clean as it should. So, now the time has come to develop my own songs with ardour4 and my new waveboard.

But maybe the best news on ardour4 for most desktop users is that it is for the first time running on Windows – which me personally makes a little bit sad.

To see what’s new in ardour4 read https://community.ardour.org/node/8725