Here you can find the code for an Arduino midi drumkit with 52 analog inputs.
The project is hosted on SourceForge now and you can download a new version (1.2) which is compatible to Arduino IDE 1.0 here:
http://sourceforge.net/projects/yaamidrum/
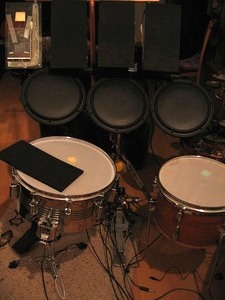
Real Life Demo of the YAAMIDRUM:
The sound quality of this video is really bad for some reasons:
1. I use free sample drumsounds.
2. The mic of my video cam produces very poor quality.
3. The speakers output of my laptop does this either.
It’s not so interesting for me. This video shows that it is possible to build a low latency e-drum set with hardware that isn’t designed for doing such things like playing drums. Arduino is originally build for other purposes.
In this example I use a simple Midi-to-USB converter cable at a baudrate of 31250. You could even use the USB cable that is used to power on the arduino, because it sends the MIDI data as a serial device to your computer. This can be achieved by changing the baudrate from 31250 to 115200 in the YAAMIDRUM sketch and using a serial to mid converter software like ttymidi. In that case you can’t use the MIDI In and Out of the Arduino, because 31250 is the standard baudrate for midi instruments. If you don’t use any other midi instruments together with your arduino on the Midi In port, you should use the second solution (ttymidi). For Win and Mac users there exists other software to achieve the same.
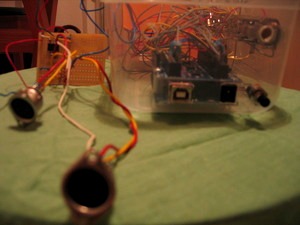
What you need:
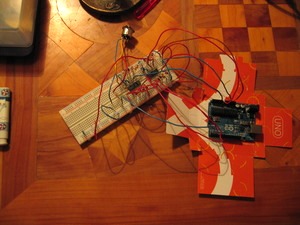
– 1 Arduino (UNO)
– 1 Mux Shield or in Germany -> e.g. here
– Materials for Midi in and out, see here -> http://www.thebox.myzen.co.uk/Hardware/MIDI_Shield.html
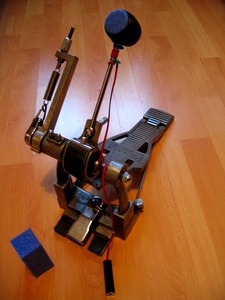
– 1 Infrared distance sensor Pololu QTR-1A -> http://www.pololu.com/catalog/product/958 or in Germany (QTR-1A-Abstandssensor)
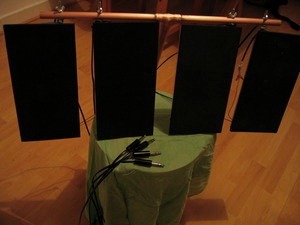
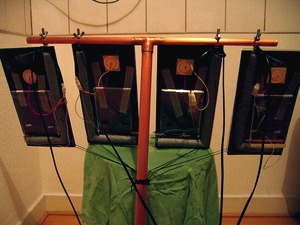
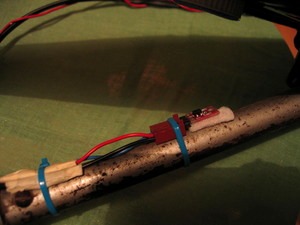
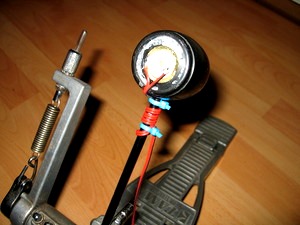
– up to 48 Piezos (http://www.conrad.de/ce/de/product/710995/PIEZOKERAMISCHER-SCHALLWANDLER-FT-36T/0235311&ref=list)
– for each piezo you need one 5,1 V zener diode
and one 1Mega Ohm resistor.
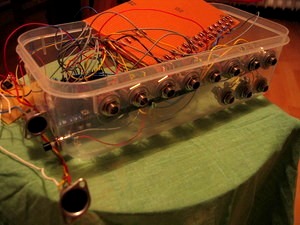
– 24 Stereo jacks
– a lot of wires
– 1 soldering iron
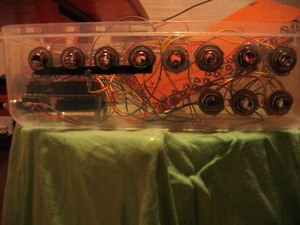
– a box to put all things together, I took something like this, but pay attention!!! First eat the content, than put the electronic into it 😉
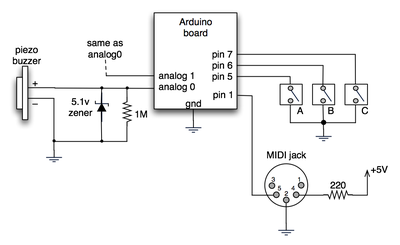
Some schematics:
The midi in and out I used for this project is perfectly explained here -> http://www.thebox.myzen.co.uk/Hardware/MIDI_Shield.html
The piezos should be connected like shown in this schematic. It can be found here. Of course you should connect the piezos with the 48 inputs of the Mux Shield on top of the arduino.
Please take a look at the Arduino sketch to find out more about how to connect everything.

Have fun!